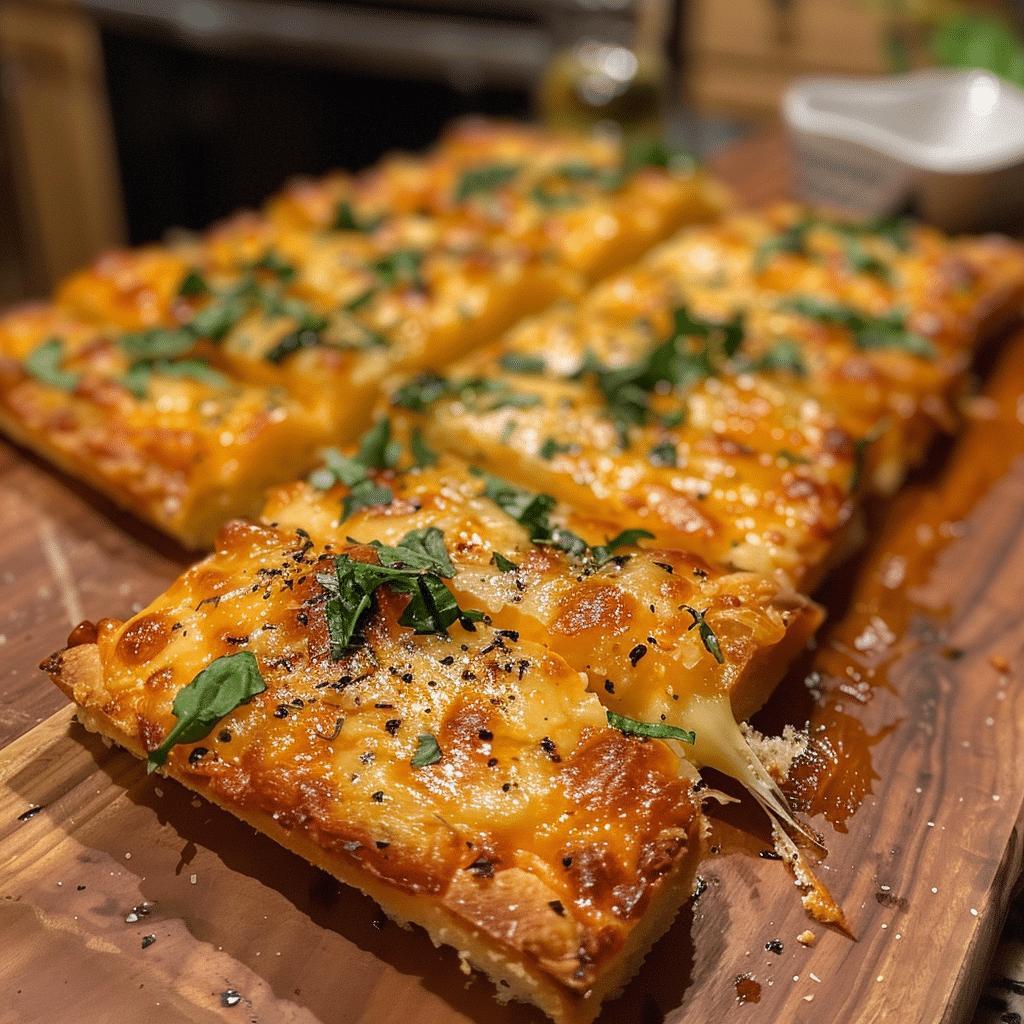
Cheese Bars are the perfect balance of creamy, rich cheesecake filling and buttery crust—all in a simple, easy-to-serve bar form. They’re smooth, sweet, and just the right amount of tangy, making them a wonderful alternative to traditional cheesecake. I first baked these cheese bars for a family brunch, and they disappeared in minutes. The cream cheese layer was silky and perfectly complemented by the golden crust beneath. Once, I added a swirl of raspberry jam before baking, and it gave the bars a beautiful marbled finish and fruity twist. Whether you’re hosting a gathering or craving a quick dessert that looks elegant with minimal effort, these Cheese Bars are always a hit.
Why You’ll Love This Recipe
These Cheese Bars are creamy, rich, and wonderfully simple to make. They deliver all the flavor of classic cheesecake but without the fuss of water baths or long chill times. You’ll love how easy it is to slice and serve them, making them perfect for potlucks, holidays, or weekday desserts. The combination of a buttery crust and smooth cream cheese filling creates a dessert that’s both indulgent and comforting. Plus, they’re endlessly customizable—add fruit, chocolate, or nuts to make them your own.
Print
Cheese Bars Recipe – Creamy, Sweet, and Melt-in-Your-Mouth Delicious
- Total Time: 1 hour
- Yield: 16 bars
- Diet: Vegetarian
Description
Cheese Bars are a rich, creamy dessert made with layers of buttery crust and smooth cream cheese filling — a simple yet irresistible treat perfect for parties, potlucks, or an afternoon sweet fix.
Ingredients
- For the Crust:
- 1 box yellow cake mix
- ½ cup unsalted butter, melted
- 1 large egg
- For the Cheesecake Layer:
- 16 ounces cream cheese, softened
- 2 large eggs
- 1 teaspoon vanilla extract
- 2 cups powdered sugar
Instructions
- Preheat oven to 350°F (175°C). Grease a 9×13-inch baking pan or line it with parchment paper.
- Make the Crust: In a large bowl, combine the cake mix, melted butter, and 1 egg. Stir until a thick dough forms. Press the mixture evenly into the bottom of the prepared pan.
- Make the Cheesecake Layer: In another bowl, beat the cream cheese until smooth. Add remaining 2 eggs, vanilla, and powdered sugar. Beat until creamy and well combined.
- Pour the cream cheese mixture over the crust and spread evenly with a spatula.
- Bake for 35–40 minutes, or until the edges are lightly golden and the center is just set (it will firm up as it cools).
- Let cool completely at room temperature, then refrigerate for at least 1 hour before slicing into bars.
- Dust with extra powdered sugar before serving, if desired.
Notes
- Use a white or butter cake mix instead of yellow for a lighter flavor variation.
- For a tangier twist, add 1 tablespoon lemon juice or zest to the filling.
- Store leftover cheese bars in the refrigerator for up to 5 days or freeze for up to 2 months.
- Prep Time: 10 minutes
- Cook Time: 40 minutes
- Category: Dessert
- Method: Baking
- Cuisine: American
Ingredients
(Tip: You can find the complete list of ingredients and their measurements in the recipe card below.)
For the Crust
All-purpose flour – Creates a sturdy, tender crust for the bars.
Butter (softened) – Adds rich flavor and helps bind the crust.
Powdered sugar – Sweetens and softens the crust texture.
Salt – Enhances flavor and balances sweetness.
For the Cheesecake Filling
Cream cheese (softened) – The star of the recipe, creating a smooth, rich filling.
Granulated sugar – Sweetens the filling perfectly.
Eggs – Provide structure and creaminess.
Vanilla extract – Adds warmth and depth of flavor.
Sour cream – Adds a slight tang and keeps the filling silky.
Optional Toppings
Powdered sugar – Lightly dust over cooled bars for a simple finish.
Fruit jam or pie filling – For added flavor and color.
Crushed nuts or chocolate chips – For texture and richness.
Directions
Preheat your oven to 350°F (175°C). Grease and line a 9×13-inch baking pan with parchment paper, leaving some overhang for easy removal.
Make the crust: In a bowl, combine flour, softened butter, powdered sugar, and salt. Mix until crumbly. Press evenly into the bottom of the prepared pan. Bake for 15–18 minutes, or until lightly golden. Let it cool slightly.
Prepare the filling: In a large mixing bowl, beat cream cheese and sugar together until smooth and fluffy. Add eggs one at a time, mixing after each addition. Stir in vanilla and sour cream until just combined.
Pour the cheesecake mixture over the slightly cooled crust. Smooth the top with a spatula. If desired, drop spoonfuls of fruit jam on top and swirl gently with a knife for a marbled effect.
Bake for 25–30 minutes, or until the center is set but still slightly jiggly. Remove from the oven and let cool completely at room temperature, then refrigerate for at least 3 hours before slicing.
Dust with powdered sugar before serving or top with fruit, chocolate, or caramel sauce for an extra touch.
Equipment needed
Must-Have Tools to Get Rolling
Here’s what you’ll want to have on hand:
Silicone Spatula – Durable, heat-resistant silicone spatula perfect for mixing, scraping, and spreading. Gentle on non-stick cookware and easy to clean.
Large pot – You’ll need this to boil the whole cabbage head and soften the leaves.
large bowl –Spacious, durable large bowl ideal for mixing, serving, or food preparation. Made from sturdy material and easy to clean.
Sharp knife – For coring the cabbage and slicing out the thick stem in each leaf. A paring knife works best.
Mixing bowl – A big bowl makes it easier to combine your meat and rice filling evenly.
Cutting board – For prepping cabbage leaves and rolling them like a pro.
9×13-inch baking dish – Ideal size to fit your rolled cabbage leaves snugly and prevent them from unraveling.
knife – A sharp, durable kitchen knife perfect for slicing, chopping, and dicing with ease.
Servings and timing
This recipe serves 12–15 people.
Preparation time: 15 minutes
Baking time: 45 minutes
Cooling and chilling time: 3 hours
Total time: About 4 hours
Storage/reheating
Store the cheese bars covered in the refrigerator for up to 5 days. For longer storage, freeze them for up to 2 months—wrap slices individually for easy thawing. Thaw overnight in the fridge and serve chilled or slightly cool.
Variations and Customizations
Lemon Cheese Bars – Add lemon zest and a tablespoon of lemon juice to the filling for a fresh twist.
Chocolate Marble Cheese Bars – Swirl melted chocolate into the filling before baking.
Berry Cheesecake Bars – Top with blueberry or raspberry jam for fruity flavor.
Salted Caramel Bars – Drizzle with caramel sauce and sprinkle with sea salt after baking.
Nutty Cheese Bars – Add chopped pecans or almonds to the crust for crunch.
Pumpkin Spice Cheese Bars – Mix pumpkin puree and cinnamon into half the filling for a seasonal treat.
Crumb-Topped Cheese Bars – Sprinkle a brown sugar crumble over the top before baking for added texture.
FAQs
Can I use a graham cracker crust instead of a flour crust?
Yes, a graham cracker crust works beautifully for a more traditional cheesecake flavor.
Can I make these cheese bars ahead of time?
Absolutely! They actually taste better after chilling overnight.
What kind of cream cheese should I use?
Use full-fat cream cheese for the creamiest, richest texture.
Can I freeze these bars?
Yes, wrap tightly and freeze for up to 2 months. Thaw in the refrigerator before serving.
Can I make this recipe gluten-free?
Yes, use a gluten-free all-purpose flour blend or gluten-free graham crackers for the crust.
Why is my filling lumpy?
Make sure your cream cheese is fully softened before mixing.
Can I use low-fat cream cheese?
You can, but the texture will be slightly less rich and creamy.
How do I know when the bars are done baking?
The center should jiggle slightly, but the edges should be set and lightly golden.
Can I use a hand whisk instead of a mixer?
Yes, just ensure the cream cheese is soft and mix until smooth.
How long should I chill the bars before cutting?
At least 3 hours—this helps them set and slice cleanly.
Conclusion
Cheese Bars are a classic dessert that delivers all the flavor of creamy cheesecake in a convenient, easy-to-serve form. With their buttery crust and smooth, rich filling, they’re a timeless treat that never fails to impress. Whether topped with fruit, chocolate, or a simple dusting of sugar, these bars are as versatile as they are delicious. Perfect for parties, potlucks, or quiet evenings at home, this recipe is one you’ll come back to again and again.