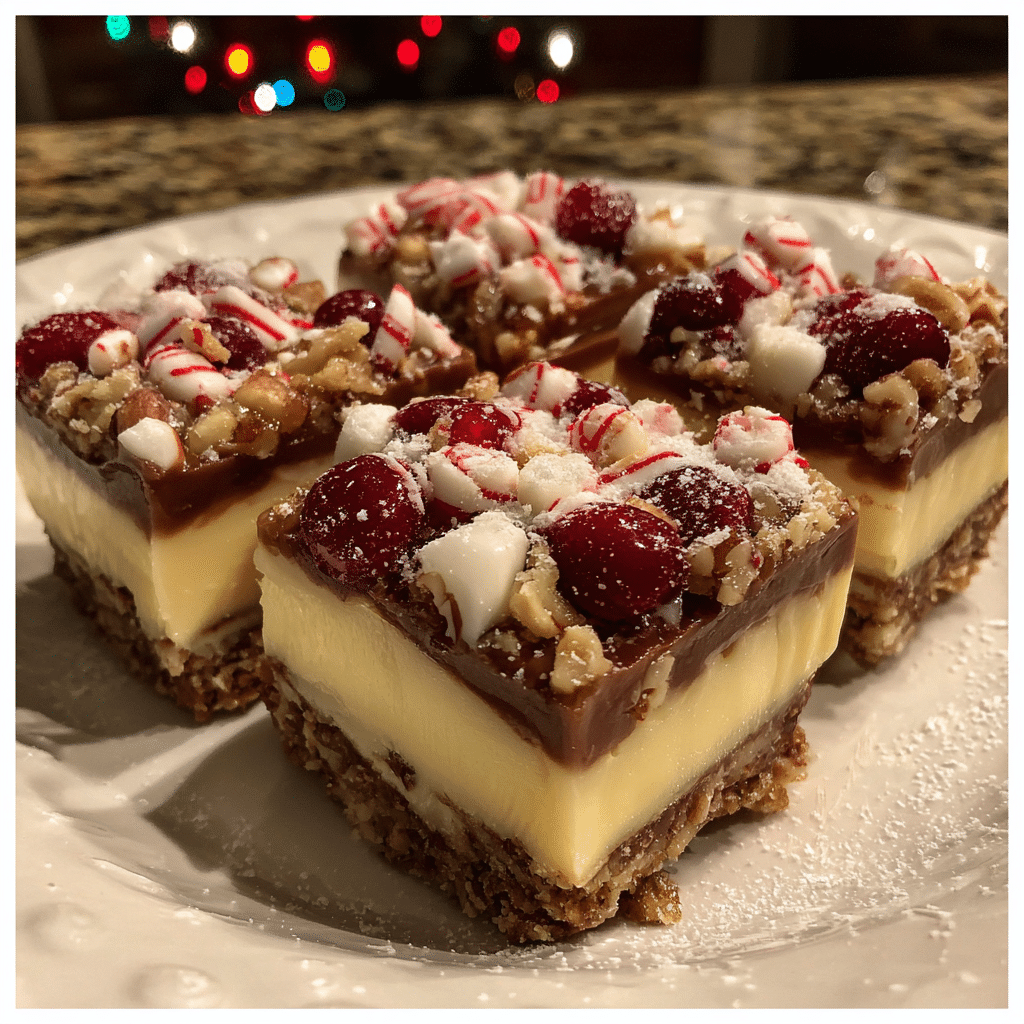
If you’re looking for a stress-free, show-stopping holiday dessert, this Make-Ahead No-Bake Christmas Cookie Lush is exactly what you need. It’s a dreamy layered dessert with a buttery cookie crust, creamy cheesecake filling, and fluffy whipped topping—no oven required. The layers come together effortlessly, making it perfect for busy holiday gatherings when you need something festive but easy. I tried this recipe last Christmas using crushed sugar cookies for the crust, and it turned out light, luscious, and packed with holiday cheer. Each bite tastes like Christmas in dessert form—sweet, creamy, and full of cozy flavors. Whether you’re hosting a big family dinner or bringing a dessert to a party, this no-bake lush guarantees smiles all around.
Why You’ll Love This Recipe
This dessert is a holiday miracle—it’s decadent yet simple, festive yet foolproof. You can make it ahead of time, which frees you up for all the other holiday preparations. The layers look beautiful when sliced, making it as impressive as it is delicious. Plus, there’s no baking, no stress, and no special equipment needed—just a few simple ingredients and your refrigerator.
Print
Make-Ahead No-Bake Christmas Cookie Lush: A Festive, Creamy Holiday Delight
- Total Time: 4 hrs 20 mins (includes chilling time)
- Yield: 12 servings
- Diet: Vegetarian
Description
Make-Ahead No-Bake Christmas Cookie Lush is a festive layered dessert made with crushed cookies, creamy cheesecake pudding, whipped topping, and colorful holiday sprinkles. It’s rich, fluffy, and perfect for holiday gatherings — no oven required!
Ingredients
- 36 Christmas or regular Oreo cookies (crushed, divided)
- 1/2 cup unsalted butter, melted
- 1 (8 oz) package cream cheese, softened
- 1 cup powdered sugar
- 2 cups whipped topping (like Cool Whip), divided
- 2 (3.4 oz) boxes instant vanilla pudding mix
- 3 cups cold milk
- 1 teaspoon vanilla extract
- 1/2 cup crushed holiday cookies or shortbread (for topping)
- 1/4 cup red and green sprinkles (for garnish)
Instructions
- In a medium bowl, combine 24 crushed Oreo cookies and melted butter. Mix until well coated and press firmly into the bottom of a 9×13-inch dish to form the crust. Refrigerate while preparing the layers.
- In a separate bowl, beat cream cheese and powdered sugar until smooth. Fold in 1 cup of whipped topping. Spread evenly over the chilled crust.
- In another bowl, whisk pudding mixes, cold milk, and vanilla extract for 2 minutes until thickened. Spread pudding over the cream cheese layer.
- Top with remaining whipped topping and smooth with a spatula.
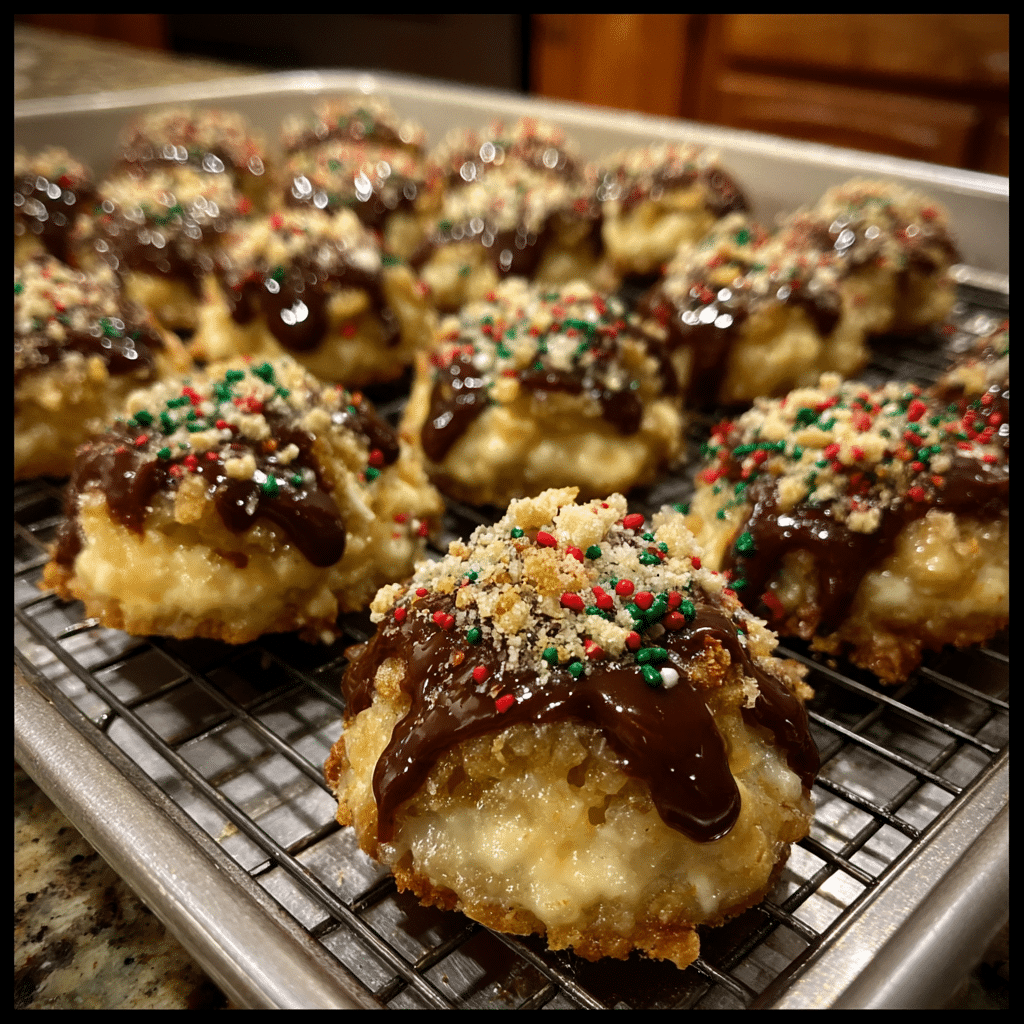
- Sprinkle with remaining crushed cookies and festive sprinkles for decoration.
- Cover and refrigerate for at least 4 hours or overnight to set.
- Slice into squares and serve chilled.
Notes
- Can be made up to 2 days in advance — store covered in the refrigerator.
- For extra holiday flavor, use peppermint Oreos or gingerbread cookies.
- Substitute chocolate pudding for vanilla if you prefer a richer taste.
- Freeze for 30 minutes before serving for a firmer texture.
- Prep Time: 20 mins
- Cook Time: 0 mins
- Category: Dessert
- Method: No Bake
- Cuisine: American
Ingredients
(Tip: You can find the complete list of ingredients and their measurements in the recipe card below.)
Sugar cookies or shortbread cookies – The base of the dessert. Crush them into fine crumbs to form a buttery, cookie crust that holds everything together.
Butter – Melted and mixed with the cookie crumbs to create a firm, flavorful crust.
Cream cheese – Softened and whipped to make a smooth, tangy layer that balances the sweetness perfectly.
Powdered sugar – Adds just the right amount of sweetness to the cream cheese mixture.
Vanilla extract – Enhances the flavor of the cream layer and brings warmth to the dessert.
Instant vanilla pudding mix – Creates a silky, flavorful middle layer that firms up beautifully once chilled.
Cold milk – Used to blend the pudding mix into a smooth, creamy consistency.
Whipped topping (like Cool Whip) – Adds lightness to the dessert and forms the final fluffy layer on top.
Holiday sprinkles – For a cheerful, festive finish.
White chocolate chips or crushed peppermint candies (optional) – Add extra texture and a fun seasonal touch.
Directions
- Prepare the crust: In a mixing bowl, combine crushed sugar cookies with melted butter. Press the mixture evenly into the bottom of a 9×13-inch dish to form a firm crust. Chill in the refrigerator for 15–20 minutes.
- Make the cream cheese layer: In a medium bowl, beat cream cheese, powdered sugar, and vanilla extract until smooth and creamy. Spread evenly over the chilled crust.
- Mix the pudding layer: In a separate bowl, whisk the instant vanilla pudding mix with cold milk until it thickens. Gently spread the pudding over the cream cheese layer.
- Top with whipped topping: Spread a generous layer of whipped topping over the pudding. Smooth the surface with a spatula.
- Decorate: Sprinkle the top with festive sprinkles, white chocolate chips, or crushed peppermint for a Christmas touch.
- Chill: Cover and refrigerate for at least 4 hours (or overnight) to let the layers set and flavors meld.
- Serve: Slice into squares and serve chilled for the perfect make-ahead holiday dessert.
Equipment needed
Must-Have Tools to Get Rolling
Here’s what you’ll want to have on hand:
Silicone Spatula – Durable, heat-resistant silicone spatula perfect for mixing, scraping, and spreading. Gentle on non-stick cookware and easy to clean.
Large pot – You’ll need this to boil the whole cabbage head and soften the leaves.
large bowl –Spacious, durable large bowl ideal for mixing, serving, or food preparation. Made from sturdy material and easy to clean.
Sharp knife – For coring the cabbage and slicing out the thick stem in each leaf. A paring knife works best.
Mixing bowl – A big bowl makes it easier to combine your meat and rice filling evenly.
Cutting board – For prepping cabbage leaves and rolling them like a pro.
Full-Size Blender – is a powerful kitchen appliance for making smoothies, soups, and sauces in large batches.
3-in-1 Air Fryer – This versatile 3-in-1 air fryer offers Air Fry for healthier meals with less oil, Bake for bakery-quality desserts and treats, and Reheat to bring leftovers back to life with crispy, flavorful results
Servings and timing
This recipe serves 12–15 people and takes about 20 minutes to prepare, plus at least 4 hours of chilling time (or overnight for best results).
Storage/reheating
Store the lush covered in the refrigerator for up to 4 days. Since it’s a no-bake dessert, there’s no reheating required. For longer storage, you can freeze it for up to 1 month—just thaw in the refrigerator overnight before serving.
Variations and Customizations
Peppermint Cookie Lush – Use crushed peppermint cookies for the crust and add a few drops of peppermint extract to the cream cheese layer for a minty twist.
Chocolate Cookie Lush – Replace sugar cookies with chocolate sandwich cookies and use chocolate pudding instead of vanilla.
Gingerbread Cookie Lush – Use crushed gingersnaps for the crust and add a sprinkle of cinnamon or nutmeg to the pudding layer.
Oreo Christmas Lush – Use holiday Oreos with red and green filling for a colorful, kid-friendly version.
Caramel Pecan Lush – Add a drizzle of caramel sauce and chopped pecans between the layers for extra indulgence.
Strawberry Cheesecake Lush – Use vanilla cookies for the crust and add a layer of strawberry pie filling before the whipped topping.
Eggnog Lush – Replace milk with eggnog and add nutmeg for a festive, creamy variation.
White Chocolate Raspberry Lush – Add white chocolate pudding and a swirl of raspberry preserves between layers for a fruity twist.
Toffee Crunch Lush – Sprinkle crushed toffee bits on top for a sweet, crunchy topping.
Mini Lush Cups – Make individual portions in small cups or jars for easy serving at parties.
FAQs
Can I make this dessert ahead of time?
Yes! It’s best when made the day before, allowing the layers to set perfectly.
Do I have to use sugar cookies?
No, shortbread, graham crackers, or Oreos work just as well.
Can I use homemade whipped cream instead of Cool Whip?
Absolutely. Just whip heavy cream with a bit of powdered sugar until soft peaks form.
Can I use different pudding flavors?
Yes, chocolate, butterscotch, or pistachio pudding would all be delicious.
How do I crush the cookies?
Use a food processor or place them in a zip-top bag and crush with a rolling pin.
Can this be frozen?
Yes, it freezes well. Thaw overnight in the refrigerator before serving.
How long will it last in the fridge?
Up to four days if kept covered and chilled properly.
Can I add fruit to the layers?
Yes, sliced strawberries, raspberries, or even crushed pineapple work beautifully.
Can I use low-fat ingredients?
Yes, light cream cheese, sugar-free pudding, and fat-free whipped topping all work well.
How do I get clean slices?
Use a sharp knife and wipe it clean between cuts for neat, beautiful layers.
Conclusion
This Make-Ahead No-Bake Christmas Cookie Lush is a holiday lifesaver—rich, creamy, and bursting with festive flavor. It’s the perfect combination of simplicity and elegance, making it ideal for busy hosts or last-minute gatherings. Each layer melts together into a velvety, cookie-filled bite of Christmas joy. Whether you make it once or every year, this no-bake lush will quickly become a beloved holiday tradition.
Hungry for more? Visit our website for full recipes and follow us on Pinterest for daily foodie inspo you’ll love to pin!