Why You’ll Love This Recipe
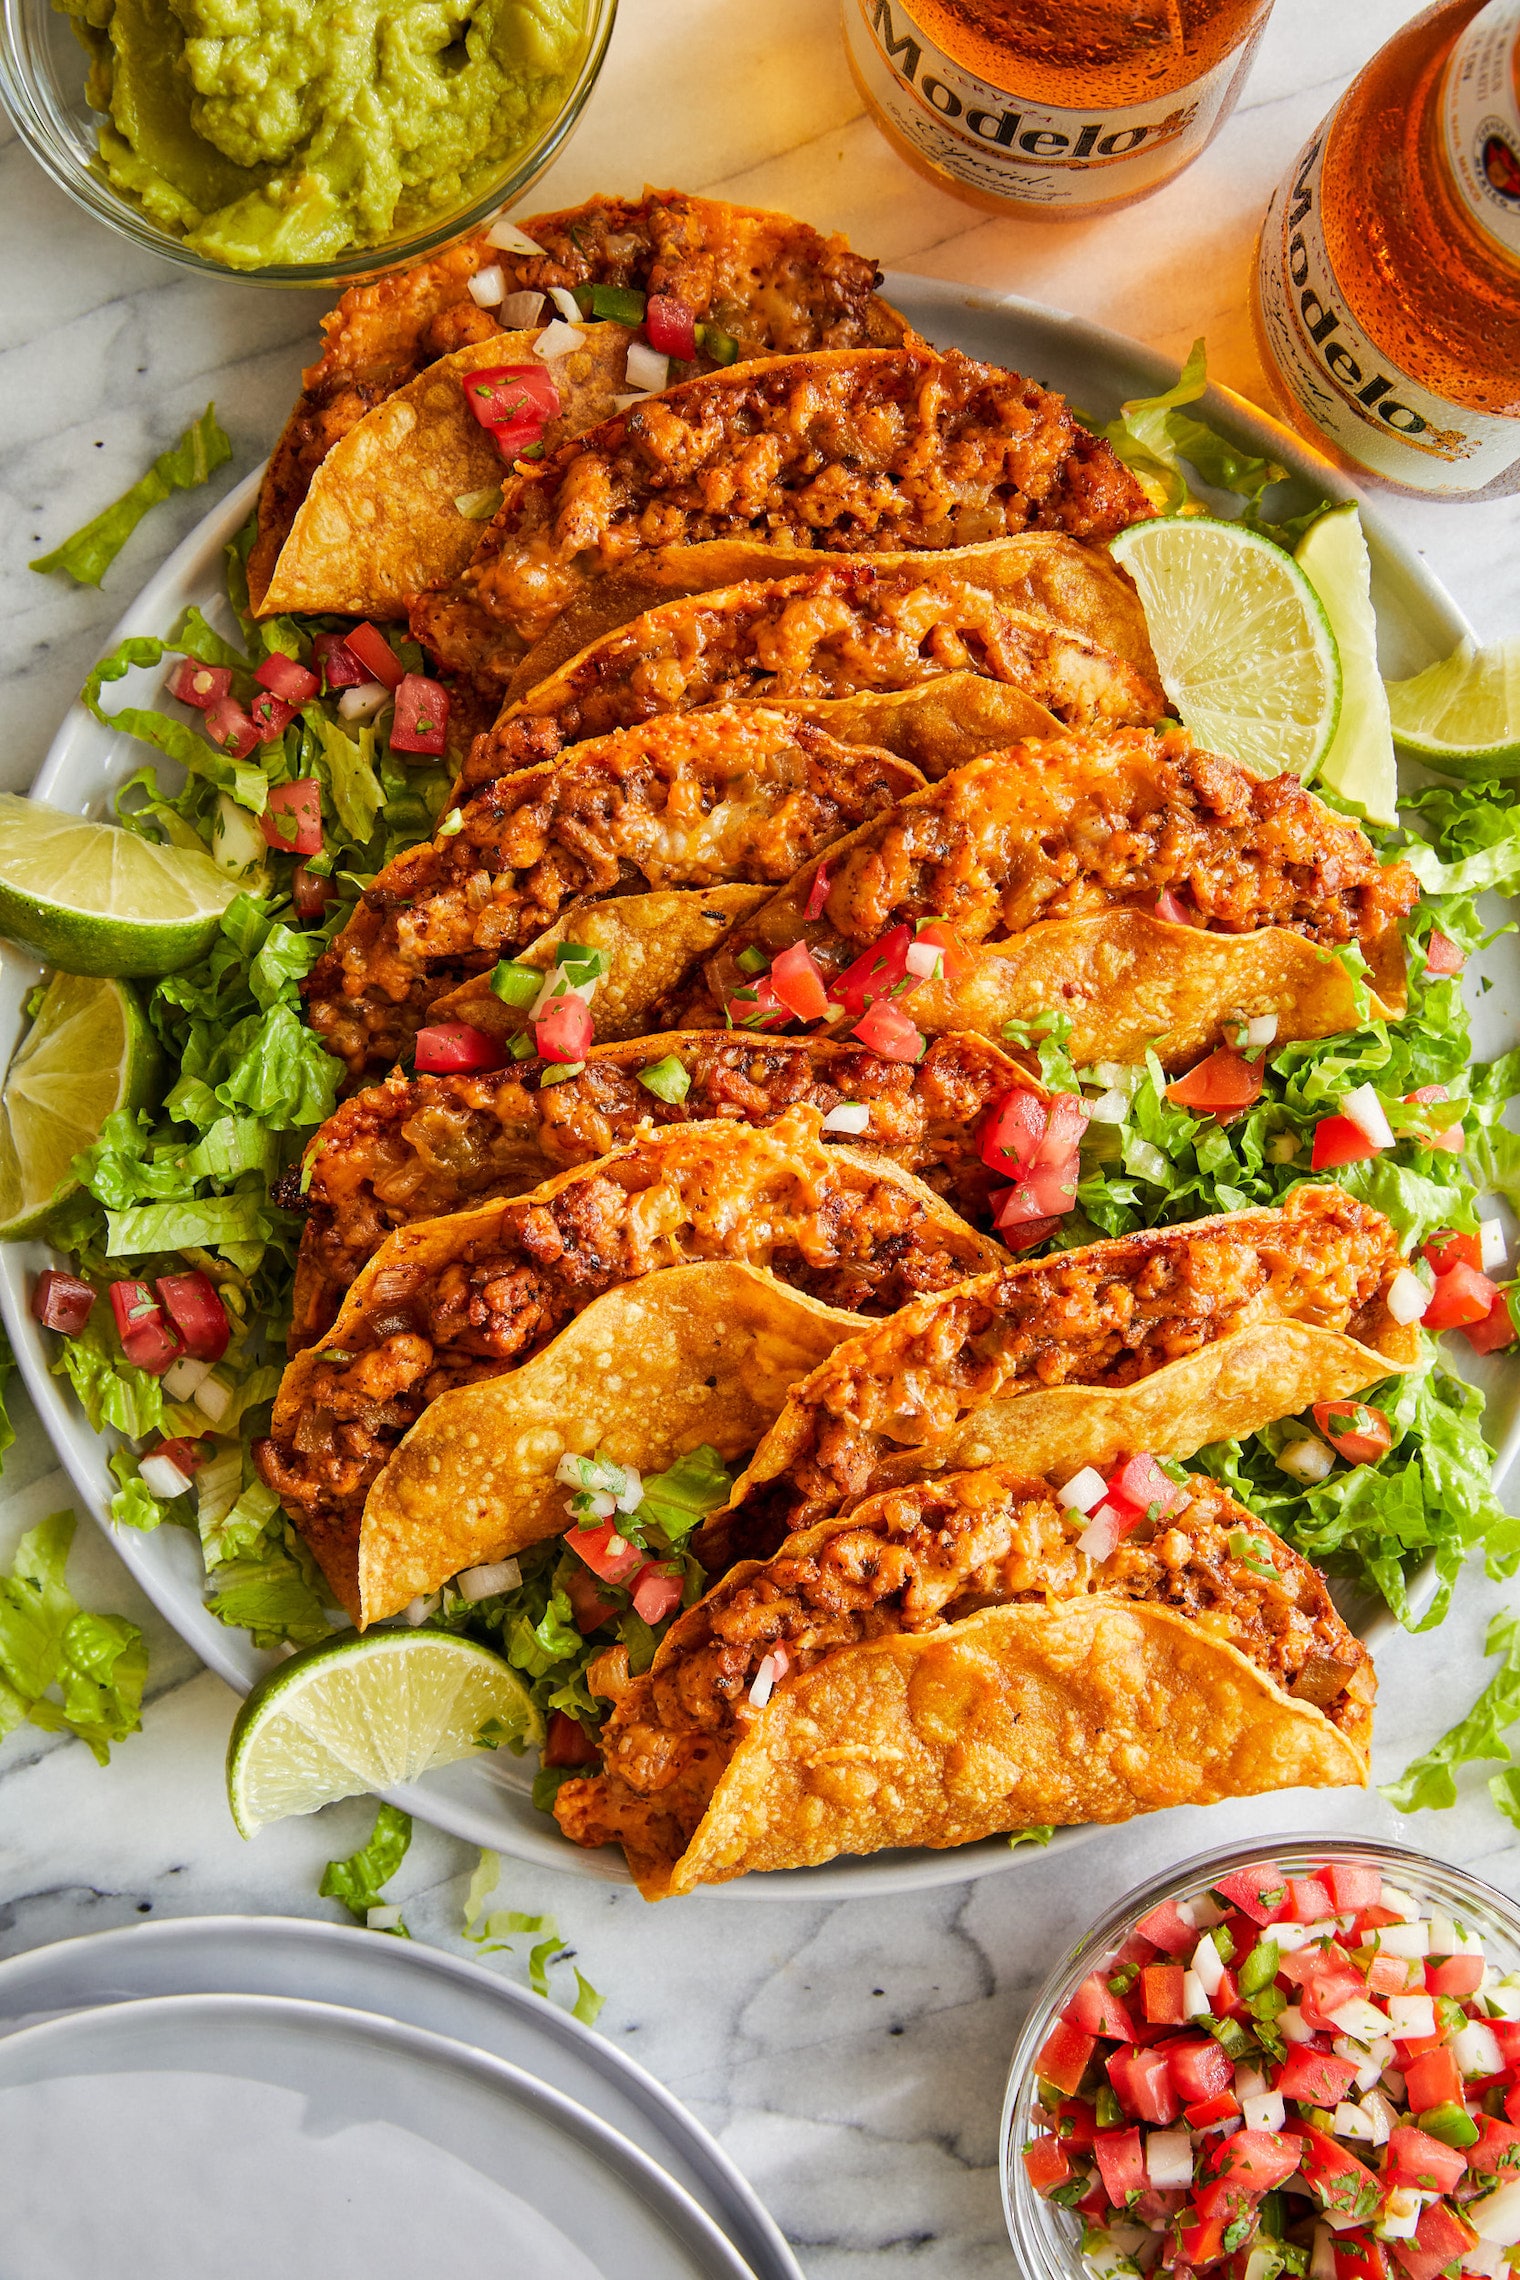
Cheesy Oven-Baked Tacos are a comforting, crowd-pleasing twist on traditional tacos that deliver maximum flavor with minimal effort. Baking the tacos in the oven allows the shells to become perfectly crisp while the cheese melts into the filling, holding everything together in the best possible way. The result is a taco that is crunchy on the outside, savory and cheesy on the inside, and far less messy than stovetop versions.
This is the recipe I turn to when I want tacos for a group or an easy family dinner without standing over a pan assembling them one by one. Baking them all at once ensures consistent texture and flavor in every taco. I tested this recipe with both flour and corn taco shells, and while both work, corn shells provide the best crunch. These tacos are reliable, customizable, and ideal for weeknights, game days, or casual gatherings.
Print
Cheesy Oven-Baked Tacos with Crispy Shells and Melty Filling
- Total Time: 30 minutes
- Yield: 12 tacos
- Diet: Halal
Description
Crispy cheesy oven-baked tacos filled with seasoned ground beef, melted cheese, and baked to golden perfection for an easy family-friendly dinner.
Ingredients
- 12 small corn or flour taco shells
- 1 lb ground beef
- 1 packet taco seasoning
- 1/2 cup water
- 2 cups shredded Mexican blend cheese
- 1/2 cup refried beans (optional)
- 1/4 cup diced onion
- 1/4 cup sliced jalapeños (optional)
- Cooking spray or olive oil
Instructions
- Preheat the oven to 400°F (200°C).
- In a skillet over medium heat, cook ground beef until browned; drain excess fat.
- Add taco seasoning and water; simmer for 5 minutes.
- Lightly grease a baking dish and stand taco shells upright.
- Spoon refried beans into shells if using.
- Fill shells with seasoned beef.
- Top generously with shredded cheese, onions, and jalapeños.
- Bake uncovered for 10–15 minutes until cheese is melted and shells are crispy.
- Remove from oven and let cool slightly before serving.
Notes
- Serve with sour cream, salsa, or guacamole.
- Use parchment paper for easier cleanup.
- Ground turkey or chicken can be substituted.
- Prep Time: 15 minutes
- Cook Time: 15 minutes
- Category: Main Course
- Method: Baking
- Cuisine: Mexican
Ingredients
(Tip: You can find the complete list of ingredients and their measurements in the recipe card below.)
Taco shells
Hard taco shells are ideal for this recipe, as they crisp beautifully in the oven and hold their shape.
Ground beef
Ground beef forms the savory base of the filling and absorbs seasoning well for classic taco flavor.
Onion
Finely chopped onion adds sweetness and depth to the meat mixture.
Garlic
Garlic enhances the overall flavor and adds aromatic warmth.
Taco seasoning
This blend of spices gives the filling its signature taste and balance of heat and savoriness.
Tomato paste or salsa
A small amount adds moisture and richness without making the filling watery.
Shredded cheese
Cheese is essential for binding the filling and adding creamy, melty texture. Cheddar or a Mexican-style blend works best.
Olive oil
Used lightly to cook the filling and help prevent sticking.
Salt and black pepper
Simple seasoning enhances the meat and balances the spices.
Directions
Preheat your oven to 190°C and arrange the taco shells upright in a baking dish or taco rack so they remain open during baking.
Heat olive oil in a skillet over medium heat. Add the chopped onion and cook until softened. Stir in the garlic and cook briefly until fragrant. Add the ground beef, breaking it up with a spoon, and cook until fully browned. Season with salt and black pepper.
Stir in the taco seasoning and tomato paste or salsa, mixing well until the beef is evenly coated. Allow the mixture to simmer for a few minutes so the flavors combine. Remove from heat.
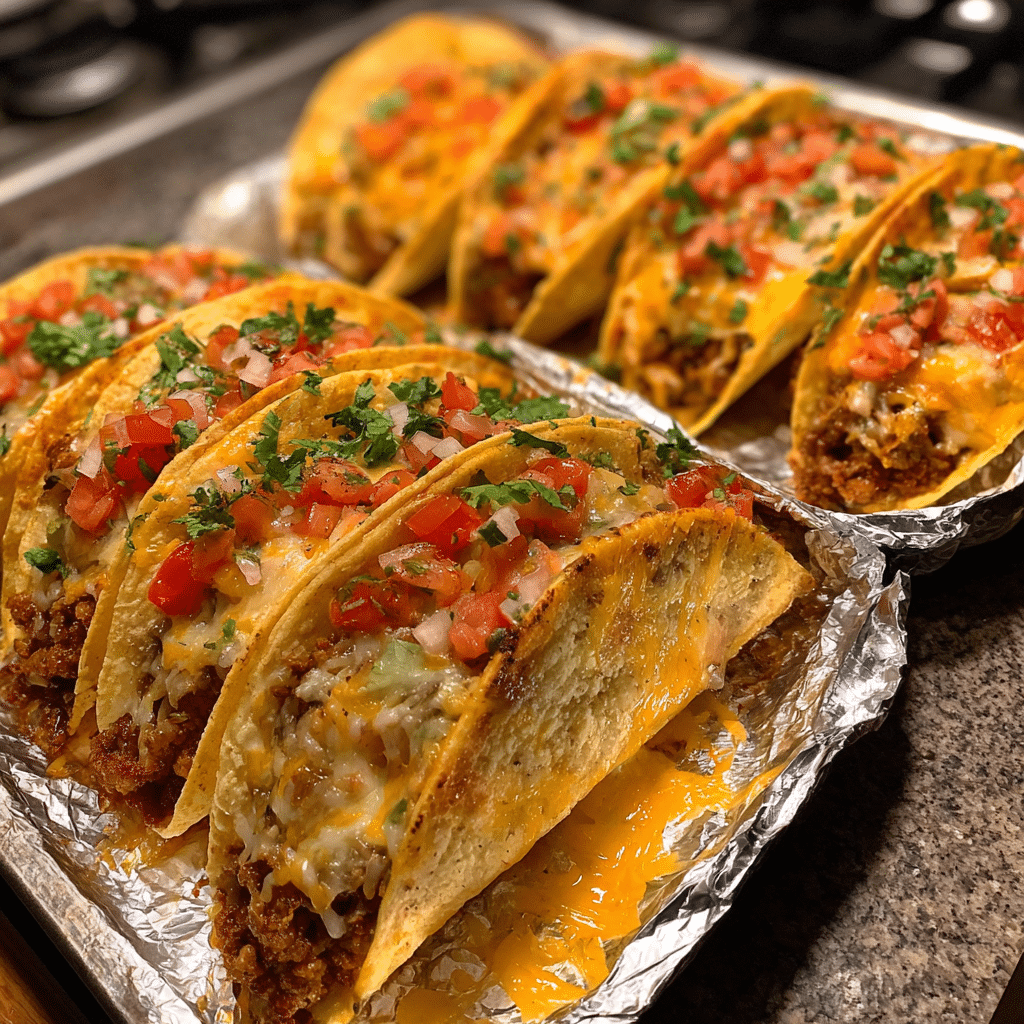
Spoon the beef mixture evenly into the taco shells. Top generously with shredded cheese, ensuring it reaches the edges so it melts into the shell.
Transfer the baking dish to the oven and bake for 10 to 15 minutes, or until the shells are crisp and the cheese is fully melted. Remove from the oven and allow the tacos to cool slightly before serving.
Equipment needed
Must-Have Tools to Get Rolling
Here’s what you’ll want to have on hand:
Silicone Spatula – Durable, heat-resistant silicone spatula perfect for mixing, scraping, and spreading. Gentle on non-stick cookware and easy to clean.
Large pot – You’ll need this to boil the whole cabbage head and soften the leaves.
large bowl –Spacious, durable large bowl ideal for mixing, serving, or food preparation. Made from sturdy material and easy to clean.
Sharp knife – For coring the cabbage and slicing out the thick stem in each leaf. A paring knife works best.
Mixing bowl – A big bowl makes it easier to combine your meat and rice filling evenly.
Cutting board – For prepping cabbage leaves and rolling them like a pro.
Full-Size Blender – is a powerful kitchen appliance for making smoothies, soups, and sauces in large batches.
3-in-1 Air Fryer – This versatile 3-in-1 air fryer offers Air Fry for healthier meals with less oil, Bake for bakery-quality desserts and treats, and Reheat to bring leftovers back to life with crispy, flavorful results
Servings and timing
This recipe makes approximately 8 to 10 tacos, serving 3 to 4 people.
Preparation time is about 15 minutes, cooking time is 20 minutes, and baking time is 15 minutes.
Storage/reheating
Store leftover tacos in an airtight container in the refrigerator for up to two days. Reheat in the oven at 180°C until warmed through and crisp again. Avoid microwaving, as it softens the shells.
Variations and Customizations
Cheesy Oven-Baked Tacos are extremely versatile. You can replace ground beef with ground chicken or turkey for a lighter version. Black beans or seasoned lentils work well for a vegetarian option and pair nicely with melted cheese.
For extra heat, add chopped jalapeños or a pinch of chili flakes to the filling. You can also layer cheese both under and over the meat for an even more cohesive, cheesy result.
If you prefer softer tacos, use small flour tortillas folded into a taco shape and baked until lightly crisp. Toppings such as shredded lettuce, diced tomatoes, sour cream, or guacamole can be added just before serving for freshness and contrast.
Nutrition and Dietary Info
These tacos are a hearty, protein-rich meal. They can be adapted using lean meat, reduced-fat cheese, or plant-based alternatives to suit different dietary needs.
Expert Tips & Customizations
Shell stability
Arrange shells tightly so they stay upright while baking.
Cheese placement
Let cheese touch the shell edges to help seal and crisp the tacos.
Even filling
Distribute the meat evenly to ensure consistent baking.
FAQs
Can I assemble these tacos ahead of time?
Yes, assemble and refrigerate, then bake just before serving.
Can I freeze baked tacos?
Freezing is not recommended due to shell texture changes.
What cheese works best?
Cheddar or a Mexican-style blend melts evenly.
Can I make them spicy?
Yes, add hot sauce or extra spices to the filling.
Do I need a taco rack?
No, a snug baking dish works well.
Can I use soft tortillas?
Yes, but the texture will be less crisp.
How do I keep shells from tipping?
Pack them closely together in the dish.
Are these kid-friendly?
Yes, adjust seasoning to taste.
Can I add beans to the filling?
Yes, beans add texture and stretch the filling.
What sides pair well?
Rice, salad, or roasted vegetables work well.
Conclusion
Cheesy Oven-Baked Tacos are an easy, dependable way to enjoy bold taco flavors with a satisfying crunch and melty finish. Perfect for feeding a group or simplifying weeknight dinners, this recipe delivers comfort, flexibility, and consistent results. Once you try tacos baked this way, it is hard to go back to any other method.
Hungry for more? Visit our website for full recipes and follow us on Pinterest for daily foodie inspo you’ll love to pin!