
If you love a classic Caesar salad, wait until you try it between two slices of bread. This Crispy Chicken Caesar Sandwich takes everything you adore about the famous salad—crisp lettuce, creamy Caesar dressing, and savory Parmesan—and pairs it with golden, crunchy chicken. The result? A sandwich that’s indulgent yet fresh, simple yet totally irresistible.
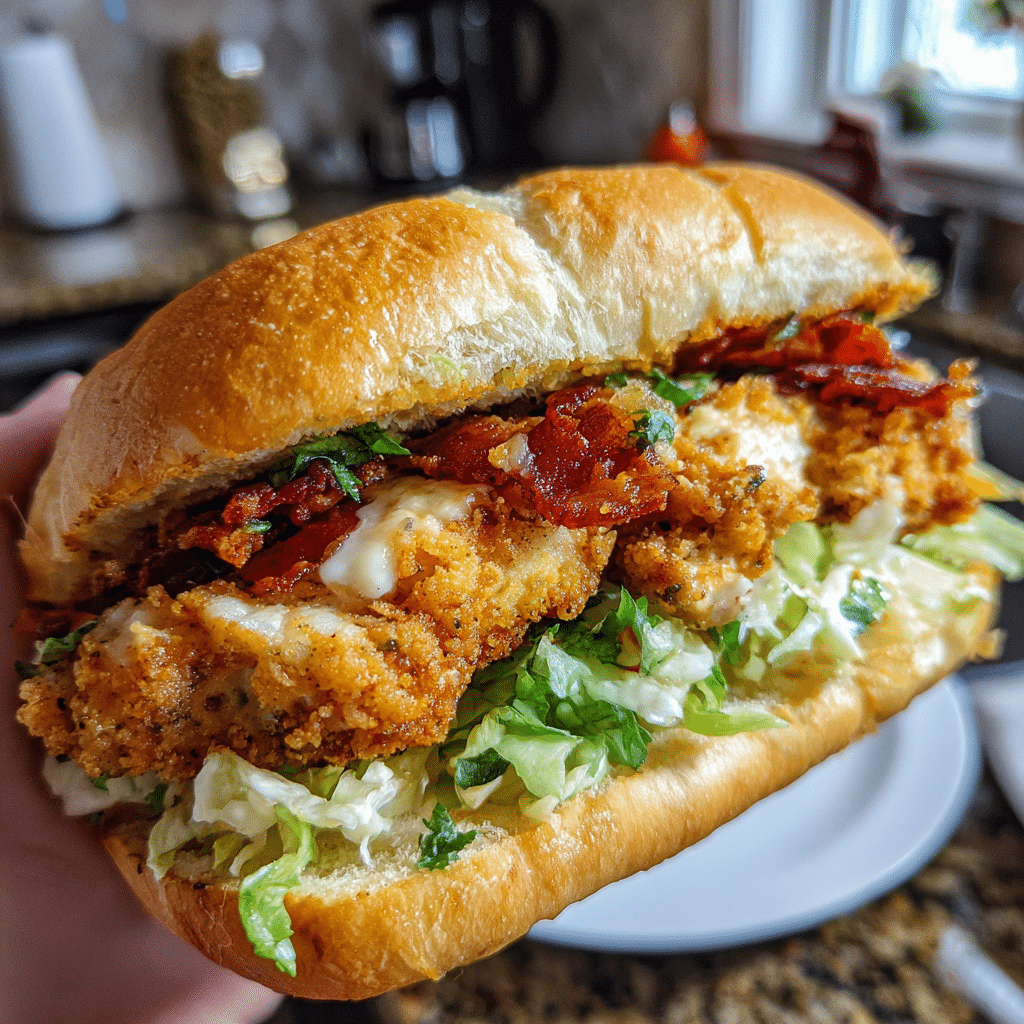
The first time I made this, I used homemade Caesar dressing and added a few slices of bacon—it was next-level delicious. Once, I swapped the buns for toasted ciabatta rolls, and they held up beautifully to the crispy chicken and creamy sauce. Whether you’re looking for an elevated lunch or an easy weeknight dinner, this sandwich will become a go-to favorite.
Why You’ll Love This Recipe
This Crispy Chicken Caesar Sandwich offers the perfect balance of textures and flavors—crispy, juicy chicken paired with creamy Caesar dressing and crisp romaine lettuce. It’s fast, versatile, and can be served warm or cold. With just a few ingredients, you’ll have a restaurant-quality sandwich that’s hearty, flavorful, and full of crunch.
Print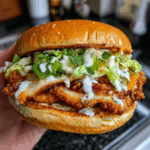
Crispy Chicken Caesar Sandwich: Crunchy, Creamy, and Packed with Flavor
- Total Time: 30 mins
- Yield: 4 sandwiches
- Diet: Halal
Description
A crispy, juicy chicken sandwich loaded with creamy Caesar dressing, crisp romaine lettuce, and shaved Parmesan — the perfect fusion of a Caesar salad and a crunchy chicken sandwich.
Ingredients
- 2 boneless, skinless chicken breasts (butterflied and pounded evenly)
- 1 cup buttermilk
- 1 teaspoon garlic powder
- 1 teaspoon salt
- ½ teaspoon black pepper
- 1 cup all-purpose flour
- 1 cup panko breadcrumbs
- ½ teaspoon paprika
- ½ teaspoon onion powder
- 1 large egg
- Vegetable oil, for frying
- 4 sandwich buns or brioche rolls
- 1 cup chopped romaine lettuce
- ¼ cup shaved Parmesan cheese
- For the Caesar Sauce:
- ½ cup mayonnaise
- 2 tablespoons grated Parmesan cheese
- 1 teaspoon Dijon mustard
- 1 teaspoon lemon juice
- 1 teaspoon Worcestershire sauce
- 1 small garlic clove, minced
- Salt and black pepper, to taste
Instructions
- In a bowl, combine buttermilk, garlic powder, salt, and pepper. Add chicken breasts and marinate for at least 30 minutes (or overnight for best results).
- In a shallow dish, mix flour, panko breadcrumbs, paprika, and onion powder.
- Remove chicken from marinade and dip each piece in the flour mixture, pressing firmly to coat. Dip in beaten egg, then again in the flour mixture for an extra-crispy coating.
- Heat about ½ inch of oil in a skillet over medium-high heat. Fry chicken for 4–5 minutes per side, or until golden brown and cooked through (internal temperature 165°F / 74°C). Drain on paper towels.
- In a small bowl, whisk together all Caesar sauce ingredients until smooth and creamy. Adjust seasoning to taste.
- Toast buns lightly in a skillet or oven for extra crunch.
- Assemble the sandwiches: spread Caesar sauce on the top and bottom buns, add fried chicken, romaine lettuce, and shaved Parmesan. Drizzle with extra sauce if desired.
- Serve immediately with fries or a side salad.
Notes
- For a lighter version, bake or air fry the chicken at 400°F (200°C) for 18–20 minutes.
- Add crispy bacon for an even more indulgent sandwich.
- Use pre-made Caesar dressing if short on time.
- Substitute chicken thighs for a juicier version.
- Prep Time: 15 mins
- Cook Time: 15 mins
- Category: Main Course / Sandwich
- Method: Fried
- Cuisine: American
Ingredients
(Tip: You can find the complete list of ingredients and their measurements in the recipe card below.)
Boneless, skinless chicken breasts – Tender and juicy, perfect for breading and frying.
All-purpose flour – Helps the breading stick to the chicken.
Eggs (beaten) – Acts as the binding layer for the coating.
Panko breadcrumbs – Ensures an ultra-crispy, golden coating.
Parmesan cheese (grated) – Adds nutty, savory depth to the breading.
Garlic powder and black pepper – For simple yet bold seasoning.
Salt – To enhance flavor and balance the richness.
Olive oil or neutral frying oil – For pan-frying the chicken to crispy perfection.
Romaine lettuce (shredded) – Fresh and crunchy, a Caesar salad essential.
Caesar dressing – The creamy, tangy sauce that ties the sandwich together.
Sandwich rolls or ciabatta buns – Sturdy enough to hold all the layers.
Lemon juice (optional) – Adds brightness and cuts through the richness.
Croutons (optional) – Crushed and sprinkled for an extra crunch factor.
Directions
- Prepare the chicken:
Pound chicken breasts to even thickness for faster, uniform cooking. Season both sides with salt, pepper, and garlic powder. - Bread the chicken:
Set up three shallow bowls—one with flour, one with beaten eggs, and one with panko mixed with Parmesan cheese. Dredge each chicken breast in flour, then dip in egg, and finally coat evenly in the panko-Parmesan mixture. - Cook the chicken:
Heat oil in a skillet over medium heat. Fry the chicken breasts for 3–4 minutes per side, or until golden brown and fully cooked (internal temperature should reach 165°F/74°C). Place on paper towels to drain excess oil. - Toast the buns:
Lightly butter and toast the sandwich rolls or ciabatta until golden and crisp. - Assemble the sandwich:
Spread Caesar dressing on both sides of the bun. Add a handful of romaine lettuce, a crispy chicken breast, and a drizzle of extra dressing. Finish with more Parmesan and a squeeze of lemon juice if desired. - Serve:
Serve warm with fries, chips, or a small Caesar salad on the side.
Equipment needed
Must-Have Tools to Get Rolling
Here’s what you’ll want to have on hand:
Silicone Spatula – Durable, heat-resistant silicone spatula perfect for mixing, scraping, and spreading. Gentle on non-stick cookware and easy to clean.
Large pot – You’ll need this to boil the whole cabbage head and soften the leaves.
large bowl –Spacious, durable large bowl ideal for mixing, serving, or food preparation. Made from sturdy material and easy to clean.
Sharp knife – For coring the cabbage and slicing out the thick stem in each leaf. A paring knife works best.
Mixing bowl – A big bowl makes it easier to combine your meat and rice filling evenly.
Cutting board – For prepping cabbage leaves and rolling them like a pro.
9×13-inch baking dish – Ideal size to fit your rolled cabbage leaves snugly and prevent them from unraveling.
knife – A sharp, durable kitchen knife perfect for slicing, chopping, and dicing with ease.
Servings and timing
This recipe serves 4 people and takes about 30 minutes total—15 minutes for prep and 15 minutes for cooking. It’s the perfect quick meal that feels special without much effort.
Storage/reheating
Store leftover chicken in an airtight container in the refrigerator for up to 3 days. Reheat in an oven or air fryer at 375°F (190°C) for 5–7 minutes until crispy again. Assemble the sandwiches fresh before serving to maintain texture.
Variations and Customizations
Grilled Chicken Caesar Sandwich
Skip the breading and grill the chicken for a lighter version with smoky flavor.
Buffalo Caesar Chicken Sandwich
Toss the fried chicken in Buffalo sauce before assembling for a spicy twist.
Bacon Caesar Sandwich
Add crispy bacon slices for extra crunch and smoky flavor.
Spicy Garlic Parmesan Sandwich
Add red pepper flakes or extra garlic to the breading for bold flavor.
Wrap Version
Use large tortillas instead of buns and make it a Caesar wrap—perfect for lunch on the go.
Kale Caesar Sandwich
Swap romaine for kale tossed in Caesar dressing for a heartier, nutrient-packed version.
FAQs
1. Can I use chicken thighs instead of breasts?
Yes, boneless chicken thighs work perfectly and stay extra juicy.
2. Can I bake the chicken instead of frying?
Yes, bake at 425°F (220°C) for 20–25 minutes or air fry for 12–15 minutes at 400°F (200°C).
3. What’s the best Caesar dressing to use?
Homemade is great, but any creamy, garlicky Caesar dressing works well.
4. Can I make it ahead of time?
Yes, fry the chicken in advance and reheat just before assembling.
5. Can I add cheese slices?
Absolutely—Swiss or provolone melts beautifully on top of the hot chicken.
6. How can I make it spicier?
Add cayenne pepper or hot sauce to the breading mix for extra heat.
7. Can I use lettuce other than romaine?
Yes, iceberg or butter lettuce are great alternatives.
8. How do I keep the chicken crispy after frying?
Place it on a wire rack instead of paper towels to prevent steaming.
9. Can I use frozen breaded chicken cutlets?
Yes, just cook according to package directions and assemble as directed.
10. What can I serve with it?
Try garlic fries, roasted potatoes, or a simple Caesar side salad.
Conclusion
Crispy Chicken Caesar Sandwiches are the ultimate combination of crunch, creaminess, and flavor. With crispy golden chicken, tangy Caesar dressing, and fresh romaine all tucked into a toasted bun, this sandwich is pure comfort with a gourmet twist. Perfect for lunch, dinner, or meal prep, it’s a delicious upgrade to the classic chicken sandwich that everyone will crave again and again.
Hungry for more? Visit our website for full recipes and follow us on Pinterest for daily foodie inspo you’ll love to pin!