Introduction
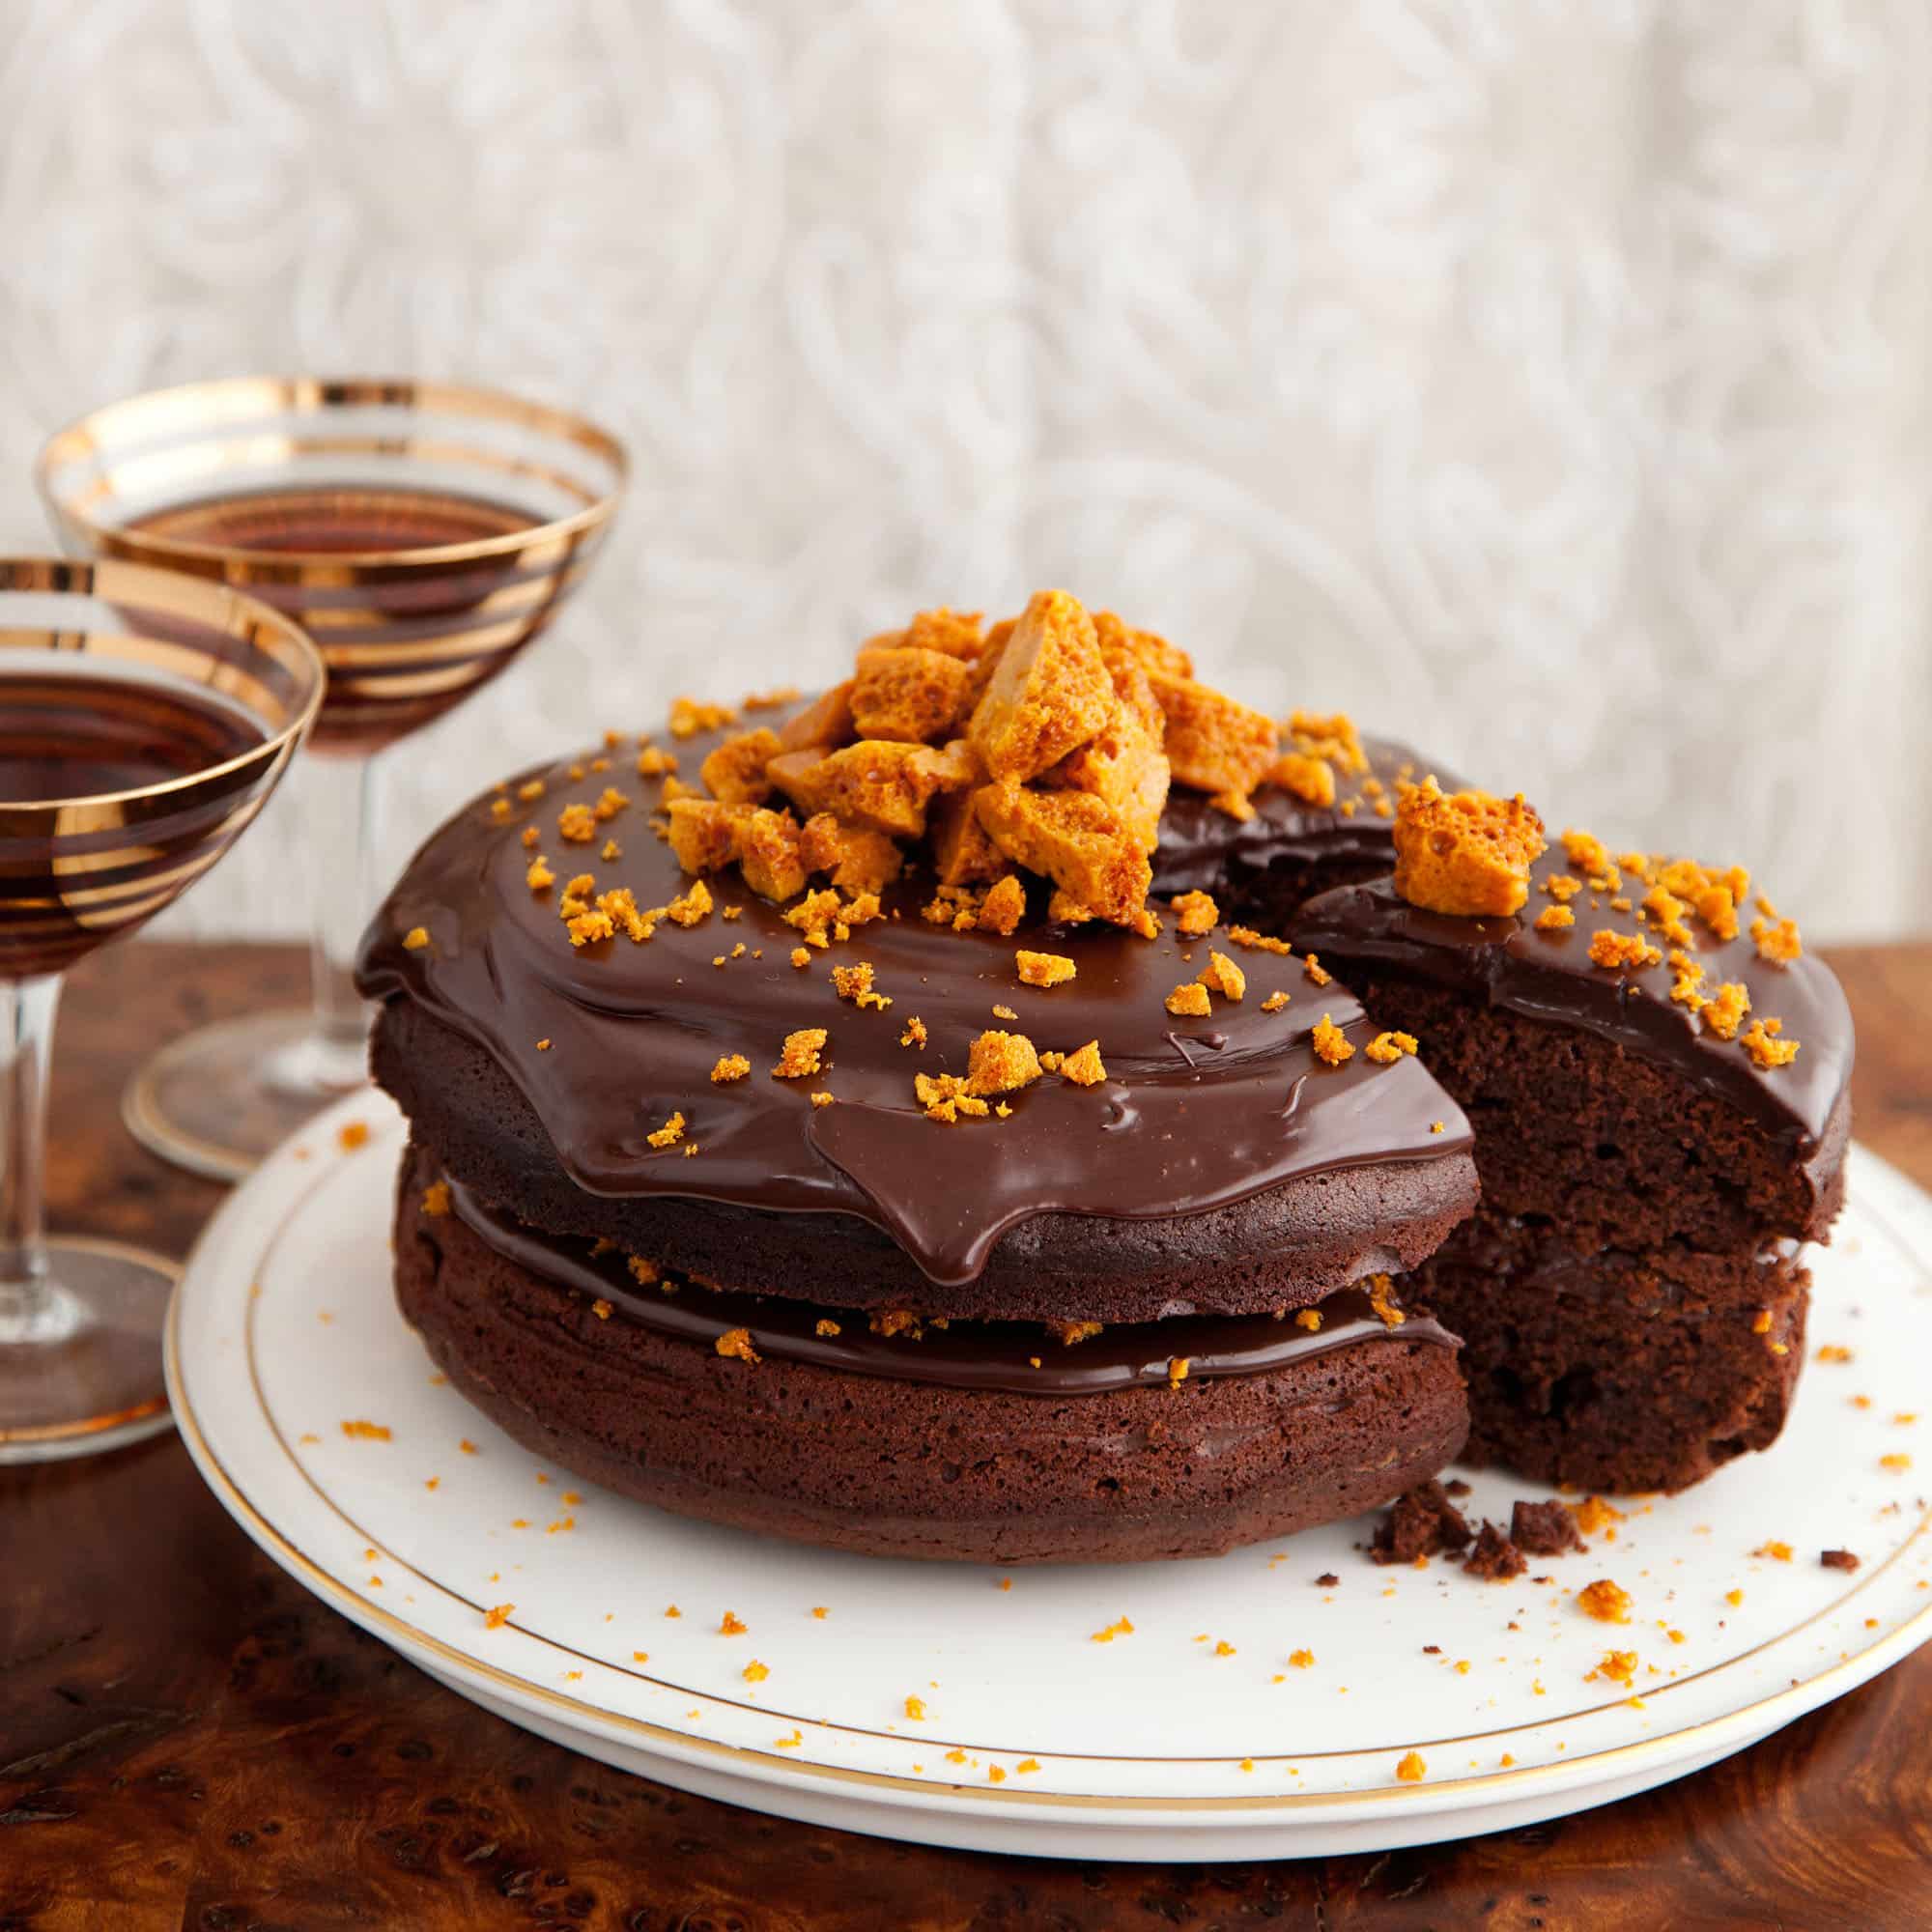
Homemade Chocolate Honeycomb Dessert is one of those recipes that feels almost magical from start to finish. With just a few pantry ingredients, you can create a light, airy honeycomb candy that transforms into an irresistible dessert once coated in chocolate. I still remember the first time I made this. Watching the bubbling sugar expand into a golden, foamy slab never gets old, and the final result feels far more impressive than the effort required. The contrast is what makes this dessert special. The honeycomb is crisp and caramelized with a delicate crunch, while the chocolate coating adds richness and smoothness that balances the sweetness perfectly. This dessert works beautifully as a standalone treat, a gift, or a crunchy topping for ice cream and cakes. It is simple, dramatic, and endlessly satisfying, making it a recipe worth mastering.
Why You’ll Love This Recipe
This recipe is quick, visually impressive, and incredibly rewarding. It requires minimal ingredients, delivers bold texture and flavor, and is perfect for gifting, holidays, or indulgent snacking.
Print
Homemade Chocolate Honeycomb Dessert: A Crunchy, Chocolate-Covered Treat Everyone Loves
- Total Time: 30 minutes
- Yield: 20 pieces
- Diet: Vegetarian
Description
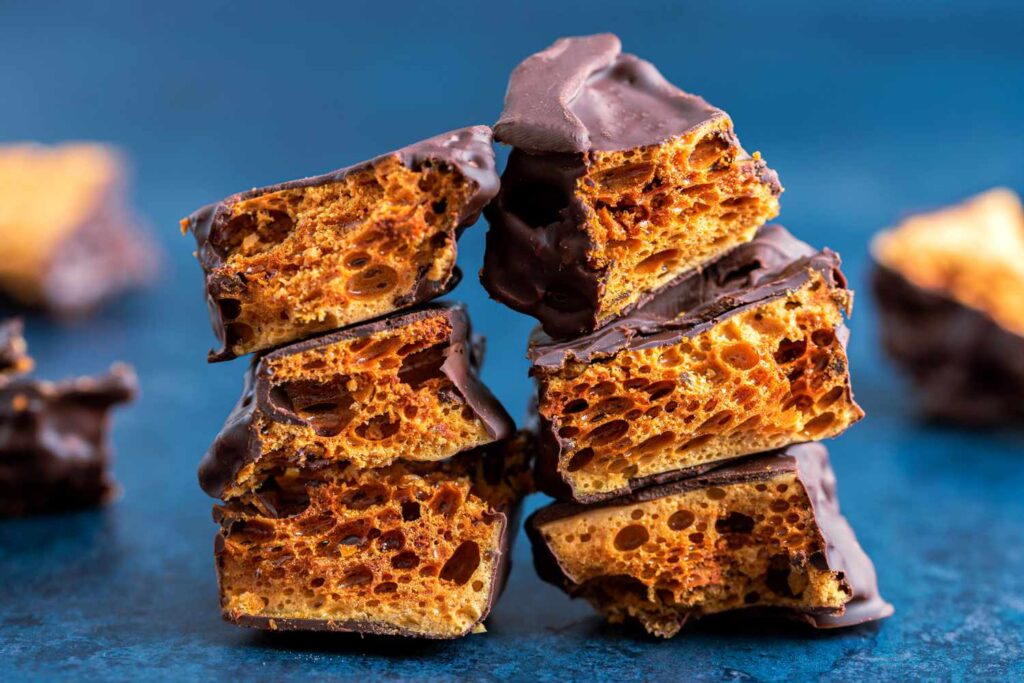
Homemade Chocolate Honeycomb Dessert is a crunchy, airy sponge toffee coated in rich melted chocolate, creating a sweet treat with a satisfying snap and melt-in-your-mouth texture.
Ingredients
- 1 cup granulated sugar
- 1/4 cup honey or golden syrup
- 2 tablespoons water
- 1 tablespoon baking soda
- 8 oz dark or milk chocolate, melted
Instructions
- Line a baking tray with parchment paper and set aside.
- In a deep saucepan over medium heat, combine sugar, honey, and water.
- Stir gently until sugar dissolves, then stop stirring and bring to a boil.
- Cook until mixture turns a deep amber color.
- Remove from heat and quickly whisk in baking soda until foamy.
- Immediately pour mixture onto prepared tray without spreading.
- Allow honeycomb to cool completely and harden.
- Break into pieces and dip or drizzle with melted chocolate.
- Let chocolate set before serving.
Notes
- Use a deep saucepan as the mixture expands rapidly.
- Do not stir after boiling begins.
- Store in an airtight container to prevent stickiness.
- Humidity can affect honeycomb texture.
- Prep Time: 10 minutes
- Cook Time: 10 minutes
- Category: Dessert
- Method: Candy Making
- Cuisine: International
Ingredients
(Tip: You can find the complete list of ingredients and their measurements in the recipe card below.)
Ingredients Breakdown
Granulated Sugar
Sugar is the foundation of the honeycomb. When heated, it caramelizes and forms the crisp, glassy structure that gives the dessert its signature crunch.
Golden Syrup or Light Corn Syrup
This syrup stabilizes the sugar and prevents crystallization, ensuring a smooth caramel base.
Water
Water helps dissolve the sugar evenly at the beginning of cooking and allows controlled caramelization.
Baking Soda
Baking soda is the key to the honeycomb texture. When added to hot caramel, it releases gas and creates the airy, sponge-like structure.
Salt
A small amount of salt balances the sweetness and enhances the caramel flavor.
Dark or Milk Chocolate
Chocolate coats the honeycomb and adds richness. Dark chocolate creates contrast, while milk chocolate adds extra sweetness.
Directions
Step-by-Step Cooking Instructions
Begin by lining a baking pan with parchment paper and setting it aside. In a heavy-bottomed saucepan, combine the sugar, golden syrup, water, and salt. Heat over medium heat, stirring gently until the sugar dissolves completely.
Increase the heat and allow the mixture to boil without stirring. Cook until it turns a deep amber color, watching closely to avoid burning.
Remove the pan from heat and immediately whisk in the baking soda. The mixture will foam and expand rapidly. Stir just enough to combine, then pour it quickly into the prepared pan. Do not spread or press the mixture.
Allow the honeycomb to cool completely at room temperature until firm. Once set, break it into irregular pieces by hand.
Melt the chocolate gently and dip or drizzle the honeycomb pieces. Place them on parchment paper and allow the chocolate to set fully before serving.
Must-Have Tools to Get Rolling
Here’s what you’ll want to have on hand:
Equipment needed
Must-Have Tools to Get Rolling
Here’s what you’ll want to have on hand:
Silicone Spatula – Durable, heat-resistant silicone spatula perfect for mixing, scraping, and spreading. Gentle on non-stick cookware and easy to clean.
Large pot – You’ll need this to boil the whole cabbage head and soften the leaves.
large bowl –Spacious, durable large bowl ideal for mixing, serving, or food preparation. Made from sturdy material and easy to clean.
Sharp knife – For coring the cabbage and slicing out the thick stem in each leaf. A paring knife works best.
Mixing bowl – A big bowl makes it easier to combine your meat and rice filling evenly.
Cutting board – For prepping cabbage leaves and rolling them like a pro.
Full-Size Blender – is a powerful kitchen appliance for making smoothies, soups, and sauces in large batches.
3-in-1 Air Fryer – This versatile 3-in-1 air fryer offers Air Fry for healthier meals with less oil, Bake for bakery-quality desserts and treats, and Reheat to bring leftovers back to life with crispy, flavorful results
Servings and timing
This recipe yields approximately 20 to 25 pieces. Preparation takes about 5 minutes, cooking time is around 10 minutes, and cooling time is approximately 30 minutes. Total time is about 45 minutes.
Storage/reheating
Store chocolate honeycomb dessert in an airtight container at room temperature for up to 1 week. Keep it away from moisture, as humidity can soften the candy. This dessert does not require reheating.
Variations and Customizations
Homemade Chocolate Honeycomb Dessert is easy to adapt. For a more intense flavor, use dark chocolate with a higher cocoa percentage. Milk chocolate creates a sweeter, more traditional candy-style finish.
You can sprinkle flaky sea salt over the chocolate before it sets for a sweet-salty contrast. For a decorative touch, drizzle white chocolate over dark chocolate-coated pieces.
Crushed honeycomb also makes an excellent topping for ice cream, brownies, cheesecakes, or cupcakes. You can even fold small pieces into chocolate bark for an extra layer of crunch and texture.
Nutrition and Dietary Info
This dessert is high in sugar and should be enjoyed in moderation. It is naturally gluten-free and dairy-free unless coated in chocolate containing dairy.
Expert Tips & Customizations
Work quickly after adding baking soda
The honeycomb expands and sets rapidly.
Avoid over-stirring
Too much stirring can collapse the bubbles.
Choose a dry day
Low humidity helps maintain crisp texture.
FAQs
Does honeycomb candy contain honey?
No, the name refers to the texture, not the flavor.
Why did my honeycomb turn sticky?
Moisture or undercooking can cause stickiness.
Can I make this without a thermometer?
Yes, deep amber color is a good indicator.
What chocolate works best?
Dark chocolate offers the best balance.
Can kids help make this?
Adults should handle cooking; kids can help dip chocolate.
Can I freeze chocolate honeycomb?
Freezing is not recommended due to moisture.
How do I get large bubbles?
Use fresh baking soda and stir minimally.
Is this good for gifting?
Yes, it stores well and looks impressive.
Can I add flavoring?
A small amount of vanilla can be added carefully.
How long does it stay crunchy?
Up to one week if stored properly.
Conclusion
Homemade Chocolate Honeycomb Dessert is a simple yet dramatic treat that combines crisp caramelized honeycomb with smooth, rich chocolate. With its irresistible crunch and elegant finish, it is perfect for gifting, entertaining, or satisfying a sweet craving. This recipe proves that a handful of ingredients can create a truly memorable dessert with texture, flavor, and visual appeal.
Hungry for more? Visit our website for full recipes and follow us on Pinterest for daily foodie inspo you’ll love to pin!